Using the Audio Library
Browse built-in melodies and sounds, and shape the on-screen visualizer to react to them.
The Audio Tab
All sound lives in the Audio tab. From here you control playback volume, pick melodies and impact sounds, manage MIDI, and add a reactive visualizer. The audio you set here is captured into your final recording, so it is part of the creative work, not an afterthought.
The Audio tab — volume, melodies, MIDI tools, and the visualizer.
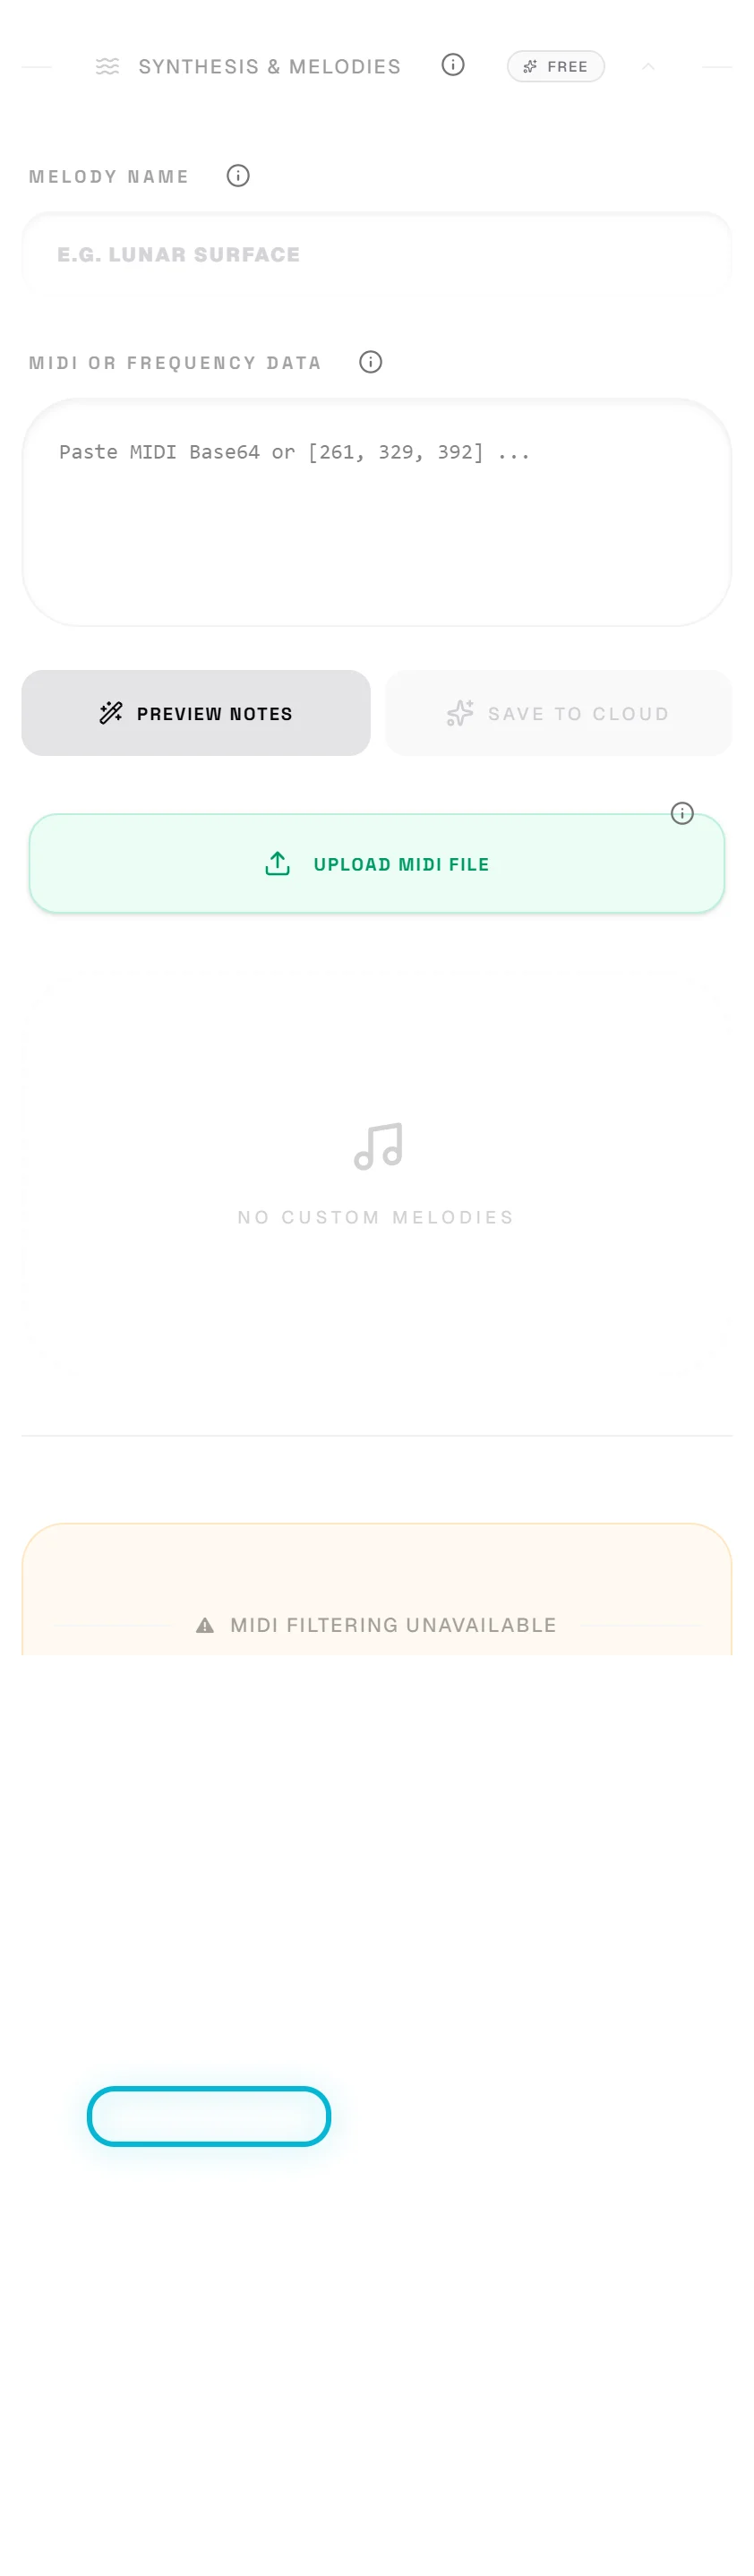
The Melody Library
The melody library provides built-in tunes and scales curated for bouncing-ball runs. Selecting a melody sets up the note sequence the balls will play in Rhythmic mode, and choosing a musical scale guarantees the notes always sound harmonious together — even as the physics play them in an unpredictable order.
The Visualizer Bars
The audio spectrum visualizer adds animated bars that react to the music's frequencies and to collision impacts. It is a professional-grade reactive layer you can place into the scene so the whole frame pulses with the sound, not just the balls.
A subtle visualizer along the bottom edge adds energy without competing with the balls. Turn the intensity down if it starts to distract from the main action.
Volume and Mixing
Set your overall volume and balance the melody against the impact sounds before you record. If the bounces are drowning out the melody (or vice versa), adjust the levels here. Always do a quick test recording to confirm the mix sounds right in the exported file.